Refresh this page to invite more people and get the cool gift 🔥

How to Add a DKIM Record to GoDaddy - Step-By-Step Guide

A DKIM record helps ensure that email servers trust your emails.
With DKIM verification, the authenticity of an email’s content is guaranteed.
It’s another way of letting servers know that your emails really come from you and are not the result of someone impersonating you.
This trust then leads to better email server delivery, which gives you better open rates and more ROI on your email outreach.
Here’s how to set up a DKIM record on GoDaddy. ⬇️
More on DKIM ➕
DKIM records are used to authenticate emails. Through DKIM, email servers can verify the origin of email and determine if the claimed sender really is the authorized domain.
Additionally, the authentication also ensures that the email’s content hasn’t been tampered with.
The authentication uses two keys: a public key, and a private key.
The public key is added to your DNS records when adding the DKIM record. This public key is shared with email servers.
The private key is used to sign outgoing emails and must be kept private to ensure DKIM’s security.
If the digital signature can be successfully decrypted and matches the email's contents, it means the content is authentic.
If an email fails authentication, another DNS record called DMARC then determines what to do with the email.
Setting Up a DKIM for GoDaddy 📄
Here are the steps to adding a DKIM to Godaddy.
1. ➡️ Generate a DKIM key
To add a DKIM to Godaddy, you first must generate a DKIM key elsewhere.
Usually this is your email service provider, in other words: the tool you’re going to use to send emails.
- Go to your ESP’s email or domain settings
- Navigate to the email authentication or domain settings
- Look for DKIM settings. They may be named “DKIM,” “DomainKeys,” or “Email Authentication.”
- Find a button to generate the DKIM keys and click on it. If your ESP allows you to customize DKIM settings, do so based on your ESP’s recommendations.
- Copy the DKIM keys
2. ➡️ Add the DKIM record to GoDaddy
- Log into GoDaddy’s dashboard
- Under “My products” find your domain and click the DNS button
- On the DNS management page, click the Add button. A form should appear.
- For type, choose CNAME
- Enter the DKIM selector (provided by your ESP) in the Host field
- Now paste your DKIM record into the TXT value field
- Save the record
3. ➡️ Enable DKIM with your ESP
Usually, the next step is to enable the DKIM in your ESPs interface.
This is necessary to ensure outgoing emails are signed with the DKIM signature so that servers can verify the authenticity of your emails.
You may have already seen an enable button when executing step 1.
If not, go back to your ESP’s interface and look for it. When you’ve found it, enable DKIM.
Other Components of Your Technical Setup 🧑💻
It can take up to 48 hours for your DKIM to be active.
In the meantime, let’s not forget the rest of your technical setup.
These include setting up SPF records, configuring DMARC records, configuring MX records, and implementing custom domain tracking.
If you’re starting your email outreach, you’ll also need to warm up your email. Email service providers could mark you as a spammer if you just start sending hundreds of emails without building up your sender reputation.
Warming up your email is the process of gradually increasing the volume and frequency of your emails while also getting replies to them.
Additionally, should any of your emails land in spam, they should be moved to the inbox.
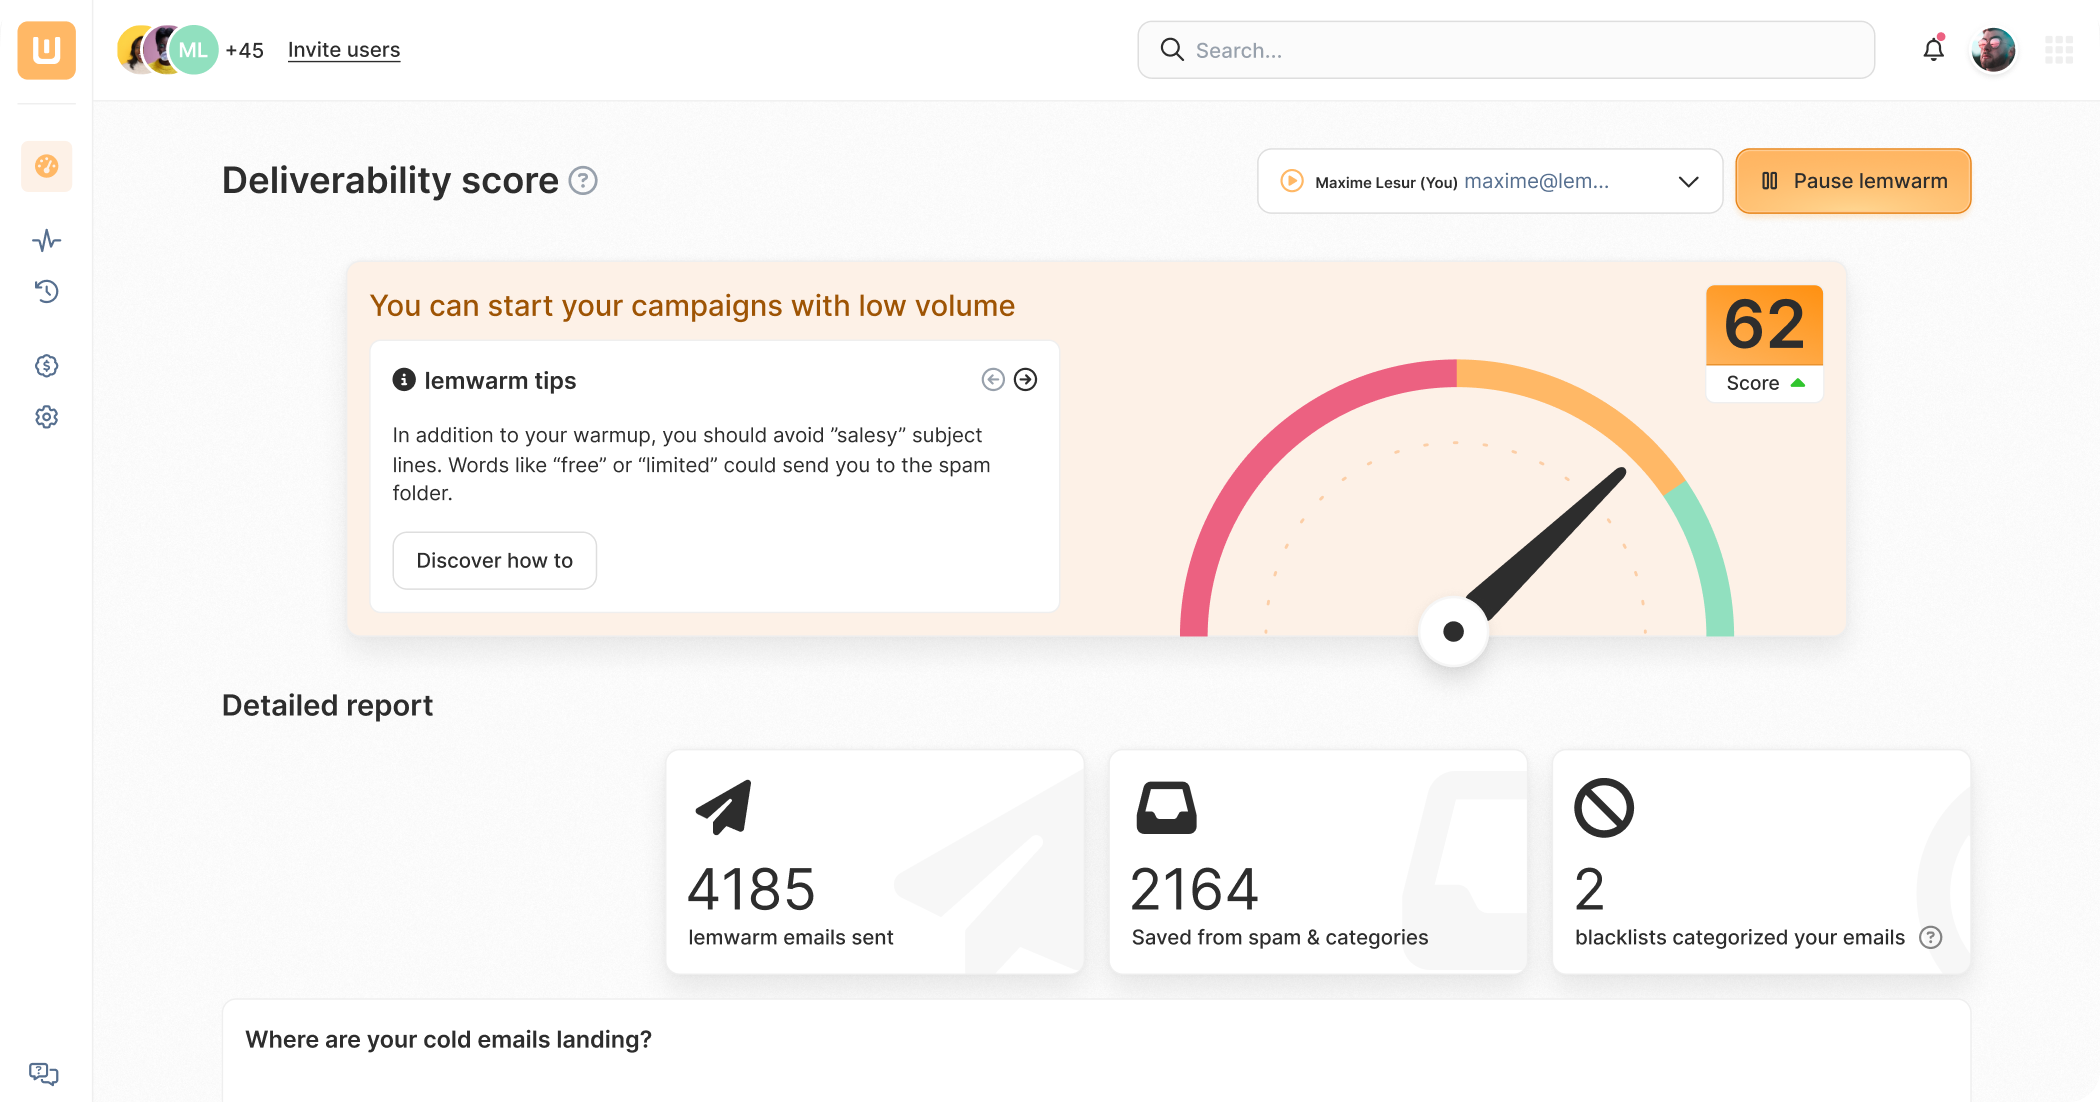
Email warm-up services like lemwarm can do this job for you so you can focus on other tasks.
Using lemwarm, people have reported open rates of 65% or more.


Send emails that actually get delivered with