Refresh this page to invite more people and get the cool gift 🔥

How to Set Up a Custom Tracking Domain on Bluehost

Bluehost powers more than 2 million websites worldwide.
Some of which have a custom tracking domain set up.
A CTD helps you track your opens and clicks in emails in the best way possible.
It’s your tracking domain and not the one your email service provider offers, which many customers use.
You can set up a CTD through a domain’s DNS settings and then add it to your ESP account.
Here’s how to set up a custom tracking domain in Bluehost:

Setting up a Custom Tracking Domain in Bluehost 📝
You don’t want to use your main domain as a tracking domain.
With email outreach, people could mark your email as spam, which would damage your sender reputation and, thus, your email deliverability.
Instead, use a subdomain of your main domain to keep their sender reputations separate.
Bluehost has a separate feature to create a subdomain, but that functionality is for subdomains with website content rather than only setting up a custom tracking domain.
We just need to create a subdomain for tracking purposes.
To that end, we need to add a CNAME record to your domain’s DNS settings.
Step 1 ➡️ Creating a Custom Tracking Domain in Bluehost
- Log in to your Bluehost Hosting Account
- Select Domains and then Zone Editor
- Select your domain
- Scroll down until the header Add DNS Record
- In the Host field, add the name of your subdomain. You decide how to name your subdomain, but to save you some time, “tracking” would work fine. If you add that to the field, your complete subdomain will be tracking.yourdomain.com.
- Leave the TTL field as it is
- From the dropdown menu called Type, select CNAME
- In the Points To field, add your email service provider’s tracking domain. You should be able to find it in your EPS’s account settings. If you can’t, ask your ESP. For example’s sake let’s say that it’s track.emailserviceprovider.com.
- Click on the Add Record button to save the record
Step 2 ➡️ Adding your Custom Tracking Domain back to your EPS’s account
You’ve created your CTD.
However, to actually use it when sending emails, you must add it to your email service provider's account.
The exact process will be different for specific ESPs, but the steps are similar, so you should be able to figure it out by following the process below. ⬇️
- Log in to your email service provider’s account
- Go to “Domain settings,” “Service settings,” or similar. Ask your ESP if you can’t find where to add your CTD.
- Now look for an option called “Custom tracking domain” or similar
- Add your CTD here. For example tracking.yourdomain.com
- Click save!
Taking Your Email Deliverability to the Next Level (Step 3? 😁)
Setting up a CTD is a good step toward avoiding the spam folder.
However, there are other components of your technical setup to attend to, like your domain authentication records: MX, SPF, DMARC, and DKIM, but it’s also essential to warm up your domain.
Warming up a sending domain involves slowly increasing the sending volume and frequency.
But just gradually increasing your email is not enough. You also need to actually get replies to the emails to let internet service providers know your emails are legit.
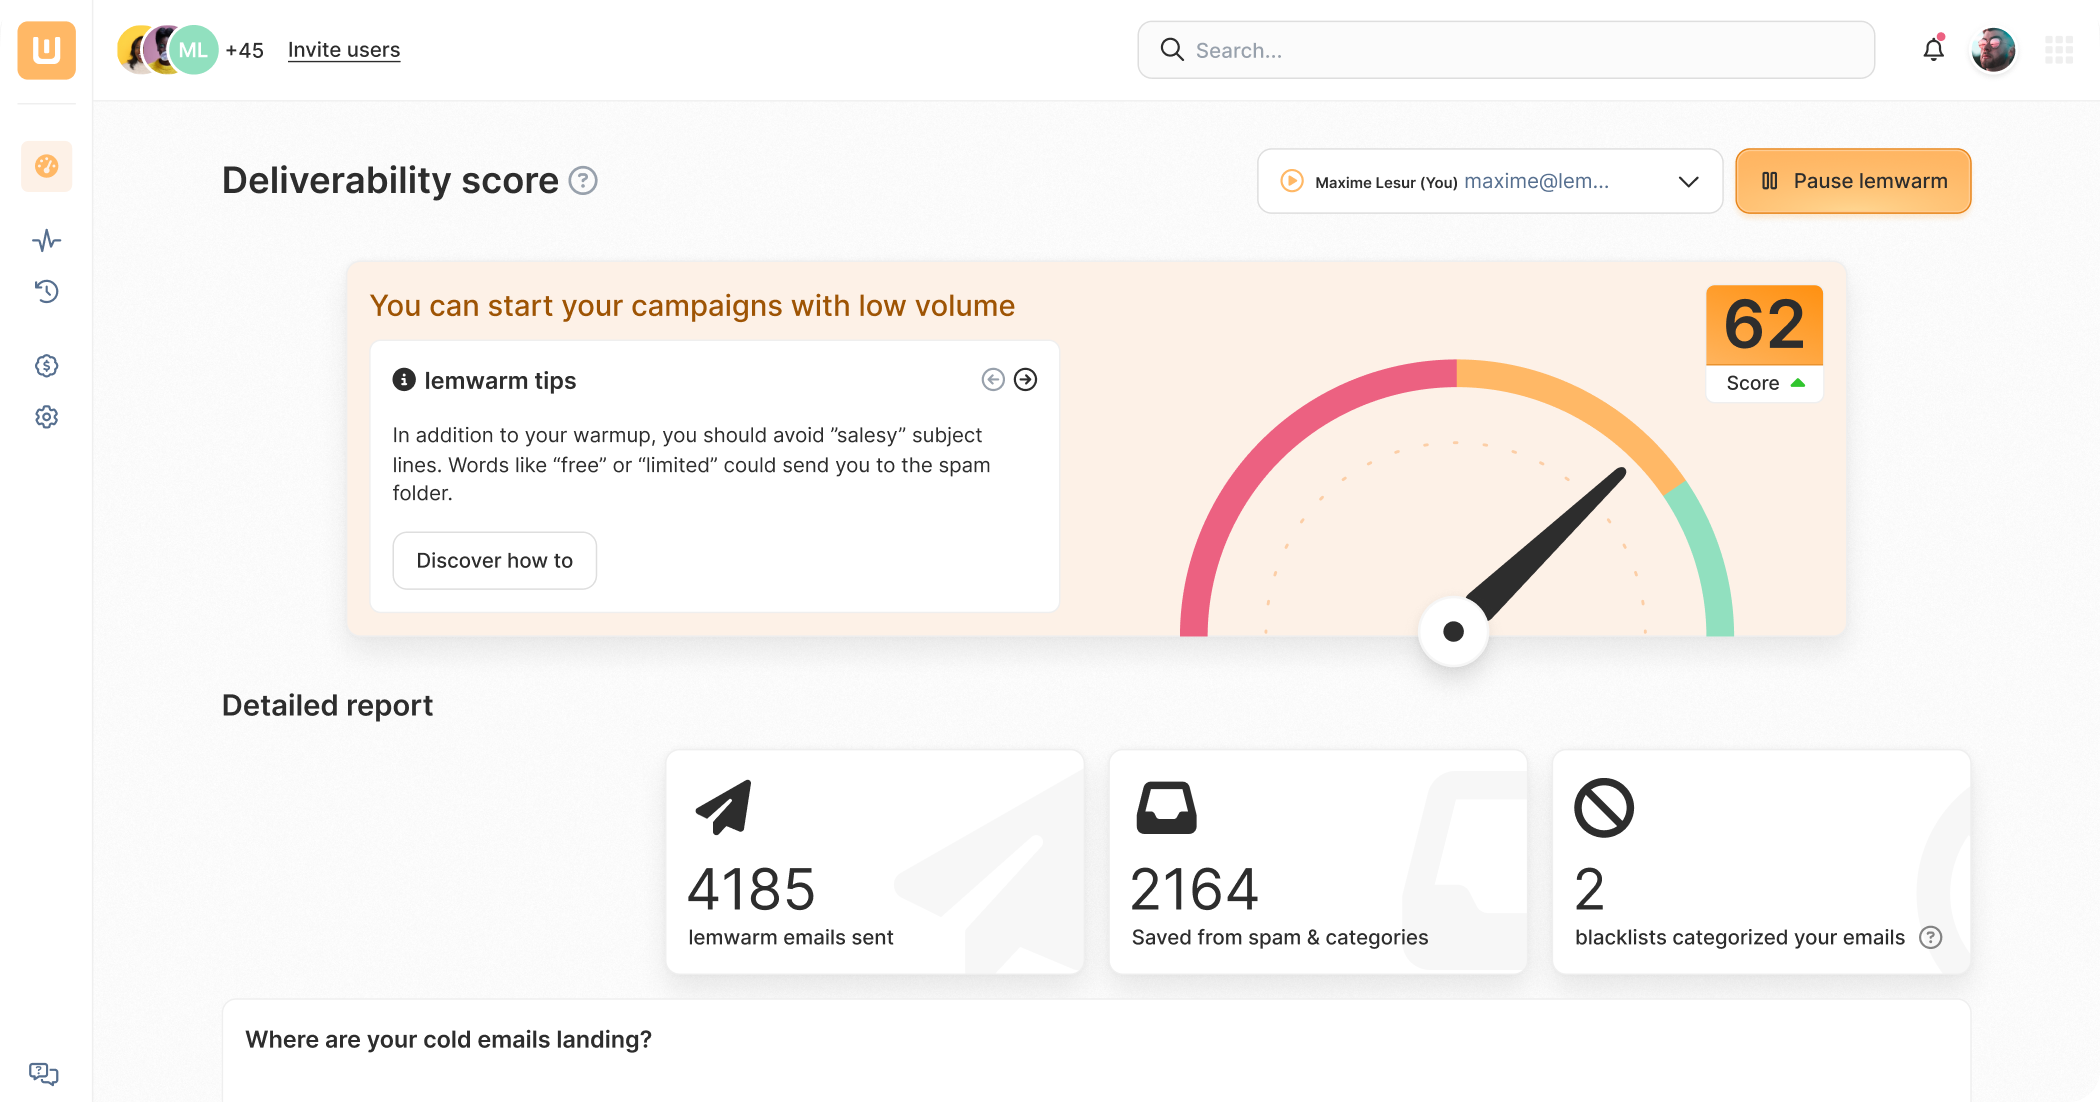
An email warm-up service like lemwarm, can do this for you, practically hands-off.

Send emails that actually get delivered with


