Refresh this page to invite more people and get the cool gift 🔥

How to Easily Set Up a DMARC record - Step-by-Step Instructions

Did you know that setting up a DMARC record can increase your email deliverability by 10%?
A well-configured DMARC boosts your sender reputation, earning trust from email providers and increasing inbox delivery for your emails.
If you’re overwhelmed by the process of setting up a DMARC, let us guide you through the process with our step-by-step guide.
Why You Need DMARC ⚠️
Apart from improved deliverability, DMARC is primarily a security issue.
A DMARC record helps servers distinguish legitimate senders from fake ones.
Without it, you risk criminals using your sending domain to commit cybercrimes like phishing attacks.
Additionally, email providers like Gmail and Yahoo now require you to have a DMARC record in place.
If you don’t, your emails to Gmail and Yahoo accounts could get blocked.
In short: we highly recommend you set up a DMARC record. It’s not optional anymore for email outreach.
What Does a DMARC Record Look Like?
A basic DMARC record consists of three elements. Check out the following example:
➡️ v=DMARC1; p=reject; rua=mailto:youremail@yourdomain.com
The three elements are the ‘v’, the ‘p’ and the ‘rua’. Here’s what they mean:
- The ‘v’ tag means version. Currently, there’s only one valid DMARC version, so it’s always the same.
- The ‘p’ tag stands for policy. This tells email servers what to do with unauthorized email.
- The ‘rua’ tag holds the email to which you want the DMARC reports to be sent. This is important because it gives you insights into potential deliverability problems.
The ‘p’ is the only setting that requires more explanation.
You see, DMARC uses two other DNS records called SPF and DKIM for authentication.
If those records indicate that an email sender isn’t a legitimate sender for that domain, then the ‘p’ value determines what to do with the email.
There are three possible ‘p’ policies:
None: No action is taken against emails that fail authentication. While this may seem like a useless setting, the truth is that this is the setting you want in the beginning. It allows you to monitor what happens with your emails and make necessary adjustments.
Quarantine: Emails that fail authentication will be sent to the spam folder.
Reject: Emails that fail authentication won’t be delivered at all. Use this setting when you have confidence in the accuracy of your DMARC reports.
You can use other tags in a DMARC record like ‘ruf’ and ‘pct’, but they’re not necessary for a well-functioning DMARC record.
So, for simplicity’s sake, we’ll leave them out here.
⚠️ Important: Before setting up DMARC, ensure the SPF and DKIM records have been active for at least 48 hours. DMARC uses these records for the actual authentication.
Checking for Existing DMARC Record ☑️
You may already have a DMARC record set up without you knowing it.
A simple way to find out is to run a DNS check.
You can find DNS checkers through Google, but we recommend lemwarm since it checks your complete technical setup.

Preparing Your DMARC Record 📝
As mentioned above, a good DMARC starting point is to have the policy set to ‘none’.
It allows you to monitor DMARC reports before setting a stricter policy like ‘reject’.
You could use the record below as long as you adjust the ‘rua’ tag to your email address.
⚠️ v=DMARC1; p=none; rua=mailto:youremail@yourdomain.com
Setting up Your DMARC Record on Specific Domain Providers
We have tutorials on how to set up your DMARC for the following domain providers:
Setting up Your DMARC Record on Any Domain Provider
Step 1: Go to your domain provider’s DNS settings
DNS, or Domain Name System, functions as a crucial set of instructions.
These instructions tell servers where to find your website content, email mailbox, and other essential components.
To modify your DNS settings, you must log in to the service provider responsible for managing the DNS zone of your domain.
If you purchased a domain and hosting as a package, it’s likely that your web hosting company manages your DNS.
The second option is that you purchased your domain through DNS registrars like Namecheap, GoDaddy, etc.
If that’s the case, look on their sites to find your domain’s DNS settings.
Lastly, you might have purchased your domain through a CDN like Cloudflare.
Either way, you’re looking for a page called “DNS,” “DNS Zone,” “Name Server Management,” or similar.
Step 2: Add your DMARC to your domain’s DNS records
Once inside your DNS page, you should see a list of records already there.
Typically, you have to click a button called “Add”, or “Add record”.
On the next page (or form), you should be able to add your DMARC record.
It should look something like this:

Step 3: Check that your DMARC works
It can take up to 48 hours for your DMARC record to propagate.
Typically, your DMARC is active much sooner than that.
Use a DNS Checker like lemwarm’s to verify that your DMARC is ready.
Completing Your Technical Setup ✅
If your DMARC is set up correctly, it’s now time to review other parts of your technical setup.
SPF and DKIM records - Since DMARC works together with the SPF and DKIM records, you need to have these latter two enabled before DMARC.
MX record - Defines the mail servers responsible for receiving email messages for a particular domain. If you want to be able to receive replies to your outreach, this is a must.
Custom Tracking Domain - By default, email service providers use their tracking domain. The problem? They use the same tracking domain for most of their customers. And those inevitably include some spammers. To avoid this, use your own custom tracking domain.
Finally, if you want your emails to land in your prospect’s inbox, you need to warm your email up.
A new sending domain has no sender reputation and could be mistaken as a spammer if you don’t warm up your email.
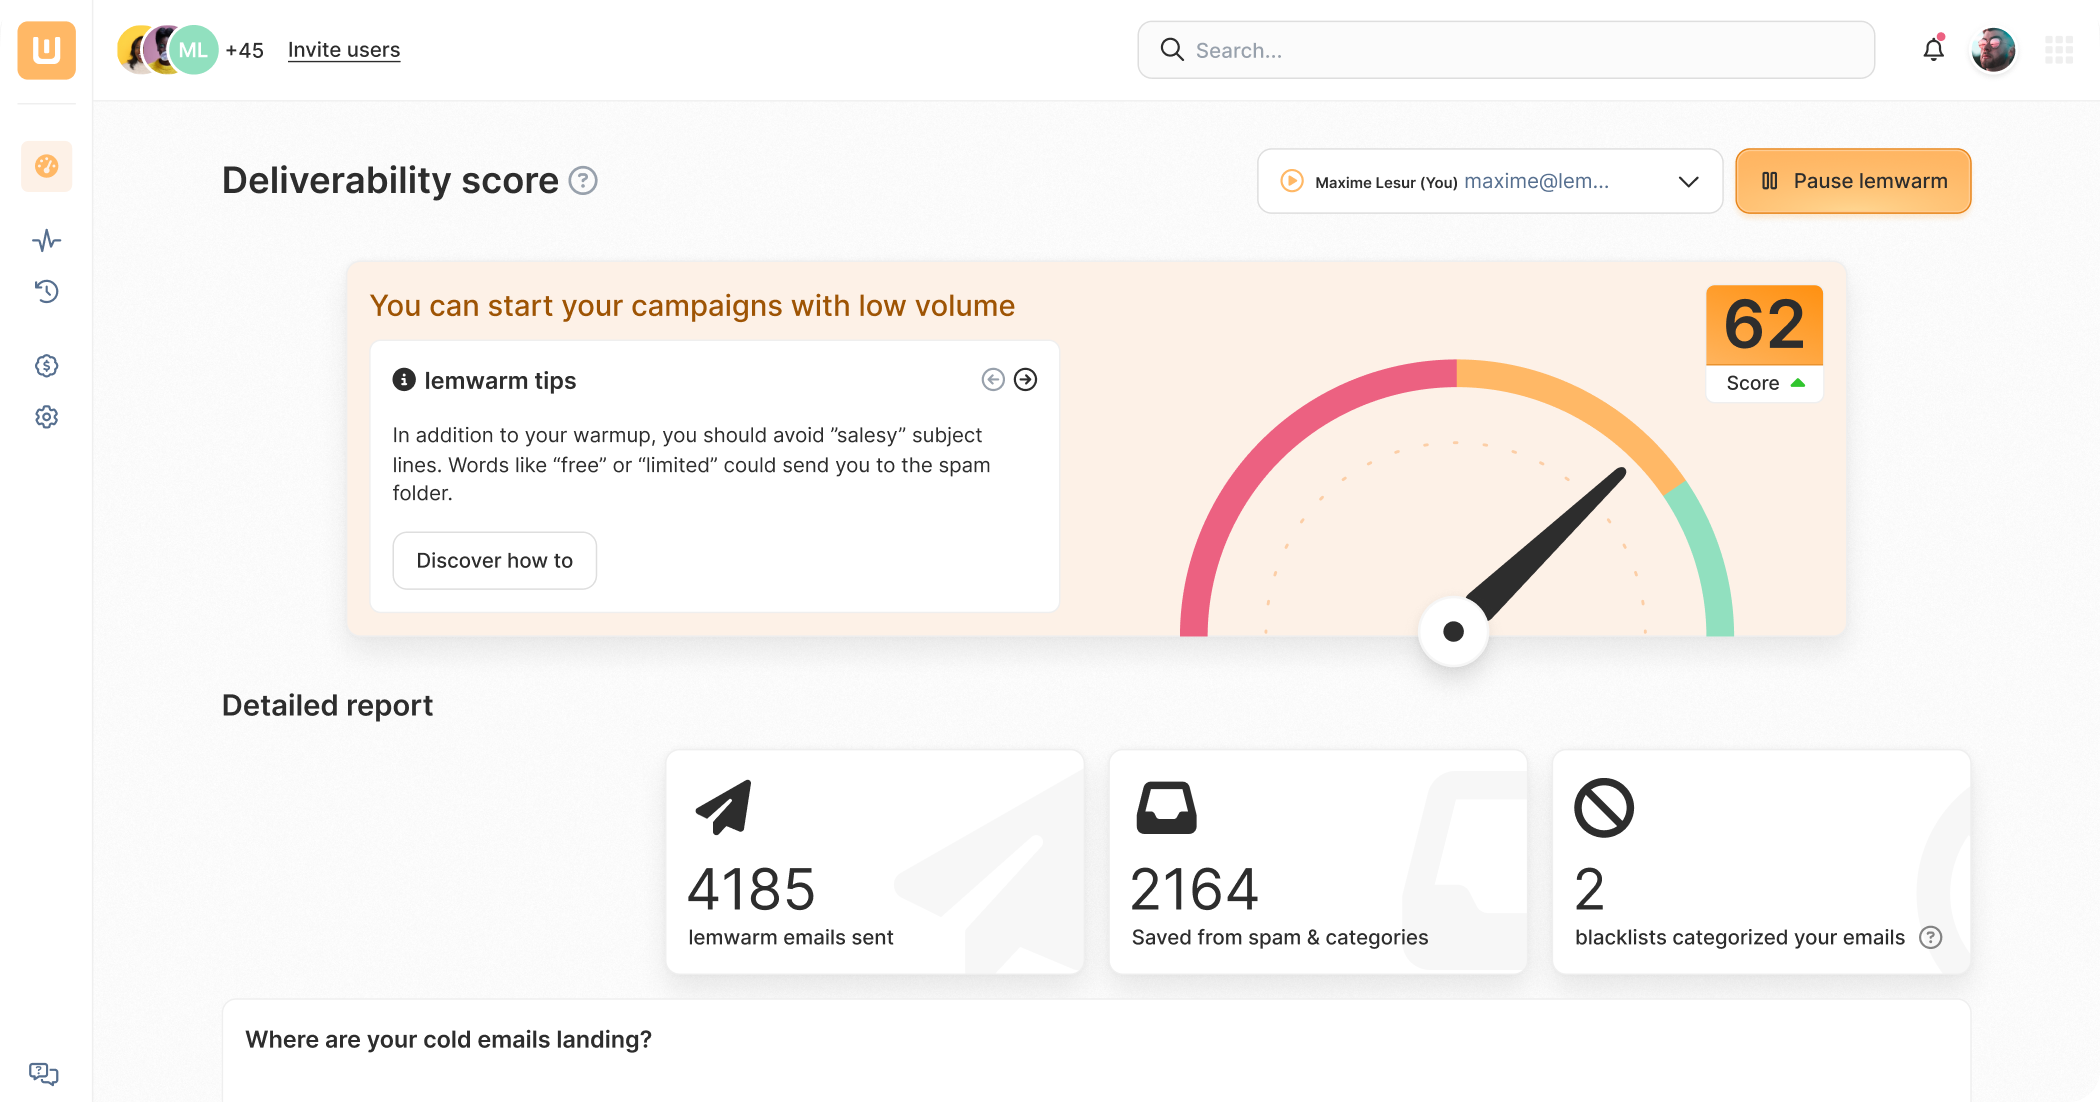
lemwarm is an email warm-up service designed to keep your emails out of the spam folder. With lemwarm’s help, you can reach open rates of 65% or superior.


Send emails that actually get delivered with